The deepest rabbit hole ever
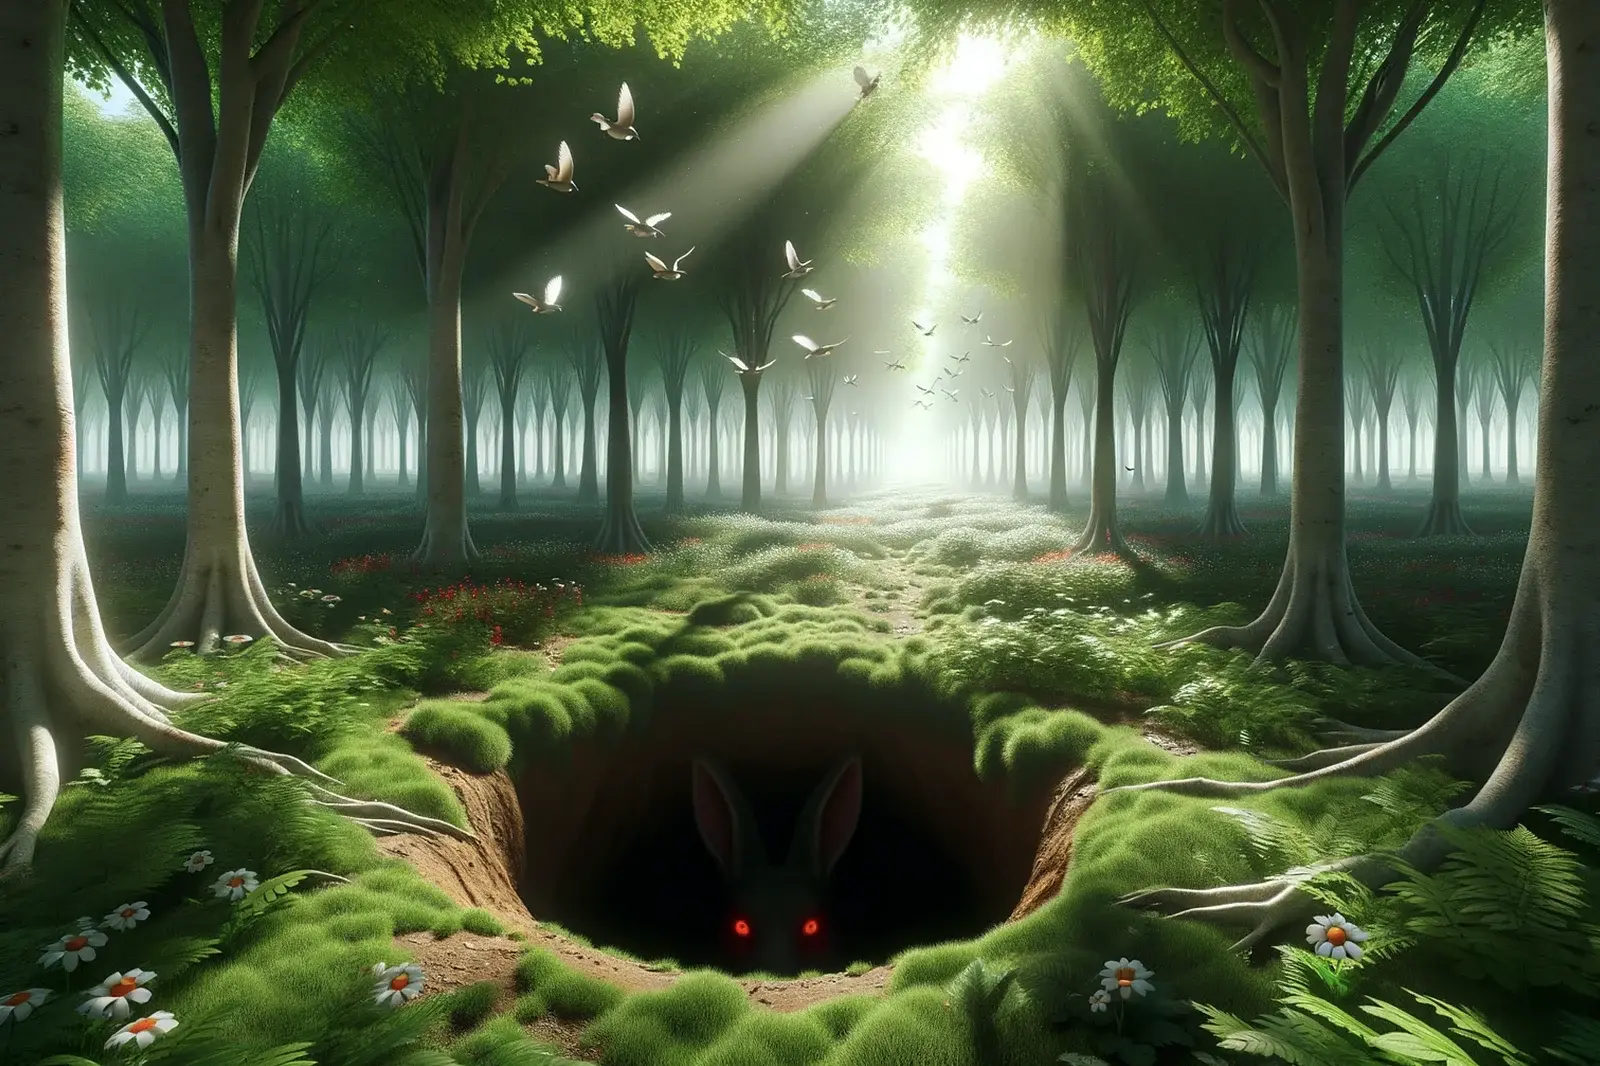
It started with a GIF.
Well, it didn't start with a GIF because I couldn't upload one to my website. I wanted to write a blog post about a cool new feature in Safari that I would demonstrate with a GIF, but I could only upload static images. So, I started the process of adding that functionality, and whoa baby, I could never have imagined the calamity that would follow such a minor feature request.
What follows is a painful look into the life of a programmer with a total lack of discipline and no separation of concerns. It's what happens when you say, "I'll just fix that while I'm here," instead of creating a dedicated issue. It’s what happens when you don’t make atomic commits. Finally, it’s what happens when you start a giant pull request that tries to tackle numerous issues because “they kind of all go together.” 🤔
Way back when
Back in January, I was watching a video on YouTube about something related to programming. I frustratingly tried selecting all the code on the screen and muttered something about how I wished I could copy and paste it. It just so happened that Apple had recently released the ability to select text from images. That in and of itself is awesome, but I was floored when I could copy text straight out of a video.
We’ve all spent hours watching other people talk about and teach each other code. And while I believe in typing the code you are learning, sometimes you just need to copy it. And as I had just found out, that was now a reality. Hell yeah. I’ll whip up a blog post so others know about it. But, as we all know, you can’t just write a blog post. You have to tinker with your site to write a blog post. It’s an unwritten rule of the universe. Off I went.
Media wrapper
matthaliski.com is built on Rails, and I use Active Storage to handle image uploading. Active Storage gives me some nice “batteries included” features for file uploading, and I send everything to a Digital Ocean Space, a drop-in replacement for Amazon S3. If you want to include files on a Post, you might do something like:
class Post < ApplicationRecord
  has_many_attached :images
end
This is similar to how I had been running things, but I didn’t like how the media was tightly coupled to the Post, and you couldn’t store extra data with it. My solution was to create a Medium class that would wrap around a has_one_attached: file Active Storage object that I could tack additional fields onto. This allowed me to store the alt text and captions for <figure> tags. Furthermore, I made this a polymorphic relationship, allowing me to avoid duplication when using it with other models.
One of the main duplications I wanted to avoid was with media variants. I needed the same few variants created for any media associated with any model. At this point, I hit my first roadblock when processing variants for gifs.
The first hiccup
I was experiencing a fairly common scenario in web development: things worked locally but not in production. I was able to process a gif on my machine, but it borked every time I tried it on the production server. Mmmkay. I first thought about resources. GIFs can have large file sizes and consume a lot of memory when you attempt to process them. My MacBook Pro is a hefty lad and can churn through them without much trouble, but the production server isn’t packing the same punch.
My website is hosted with Render, and it doesn’t require much to keep chugging along. The web app runs on 1 CPU and 2 GB of memory. At this point, I’d probably blow through the RAM whenever I try to process a GIF. So, I log into Render and check out the metrics. You can see the spikes in memory, but it’s not horrific. That didn’t look like the problem, so it was on to the logs.
I don’t recall the specific error (it was ten months ago), but it was occurring with libvips. I shelled into the server and checked the libvips version; what do you know, it was pretty outdated. It was certainly not the version on my machine that handles GIF variants correctly. No worries, a little apt-get upgrade should solve this problem. Oops! Render won’t let you do that.
Render has the concept of Native Runtimes that are very similar to Heroku’s buildpacks. They’re like approved and baked software requirements for common web scenarios. If you’re not doing anything overly custom, they’re great. As a web programmer, I focus on my site’s code and leave all the DevOps and deployment details to someone else. git push to the main branch, and I get zero downtime deploys. Fantastic… unless you do need to customize your server setup.
I did some googling and found a forum post on Render’s site about the outdated libvips issue. Render support had no ETA on when libvips might get upgraded and suggested leveraging Docker to gain more control over server setup. Well, I didn’t know anything about Docker and really didn’t want to spend the time learning it, but deeper into the rabbit hole we go!

Docker
I was not pumped about having to learn Docker. I looked around at a bunch of other hosts that would allow me to keep my same workflow, but there wasn’t a good fit. I took a long, hard look at offloading the image processing to a third-party service, but that seemed overkill for my little website. Fine, I set out to learn Docker.
I found an excellent book called Docker for Rails Developers. I was a little worried because the book came out in 2019, and I wasn’t sure how fast Docker’s development was. But I needed a jumping-off point and gave it a shot. I began to wrap my head around the idea of images, volumes, and containers. I scratched my head a bit, trying to understand the difference between a Docker image and a Virtual Machine (VM). I pouted and shook my head at the fact that I had to add another arrow to my website development quiver. Remember the good old days? HTML, CSS, and maybe, just maybe, a little JavaScript.
After I slogged through Docker, I ran into Docker Compose! WTF? There’s more to learn? Luckily, I had been on a declarative programming kick, so at least the concept of Docker Compose made sense. After grasping the basics, I was happier creating docker-compose.yml files than Dockerfiles. At this point, I felt pretty good about doing everything from a command line and text editor, but I wanted to get it working in RubyMine. RubyMine supports Docker, but I wouldn’t say it’s trivial to set up. They create their own helper images/containers to usher things along; sometimes, those must be wiped out and rebuilt.
Docker Compose
Here we are again. I’m limping along successfully on my machine, but how the hell do I deploy a Dockerized Rails app? I got hung up on whether I could use some production-specific docker-compose.yml when deploying to Render. I believe the consensus is that Docker Compose is tailored toward working in development, and it makes sense because you would likely need extra containers (think testing) that would be superfluous in production. However, countless questions are posed to web hosts floating around on the internet about support for Docker Compose in production, so I wasn’t the only one wondering about this. If you're curious, it's almost certain that you'll need a Dockerfile for deployment.
Rails 7.1 to the rescue
Rails 7.1 wasn’t released at this point, but I’d read that it would ship with support for Docker. I decided to take a look at that branch and see if their proposed Dockerfile could help me. I created a new Rails 7.1 app to see what would happen if I deployed it on Render. It worked! Hell yeah. Now, all I needed to do was tweak the instructions for my purposes (gotta get libvips in there), and I would have identical environments in development and production, which is the whole point of Docker in the first place.
After much trial and error, I had a Dockerized Rails app that would deploy to Render. Phew. Why did I have to go through all of this? Oh, right. I wanted to upload a gif…
Back to the gifs
I achieved parody between development and production and could upload and process gifs. Woot! But had I emerged from the rabbit hole? Of course not. All the repetitive work I was doing around media uploading had revealed some pain points. The adjustments were closely related to all the work I was doing. So, what did I do? I remodeled a couple of bathrooms.
Bathrooms? That’s not part of this whole thing.
You tend to take your foot off the gas when things are going well. I’d made some good progress on my site, and my wife and I had been kicking around the idea of remodeling our two bathrooms for a while. It’ll only take a few weeks, and I’ll be right back in front of the keyboard, right? Construction projects always run on time and on budget, right?
I wasn’t talking about changing the paint and swapping the shower curtain, either. We gutted everything.
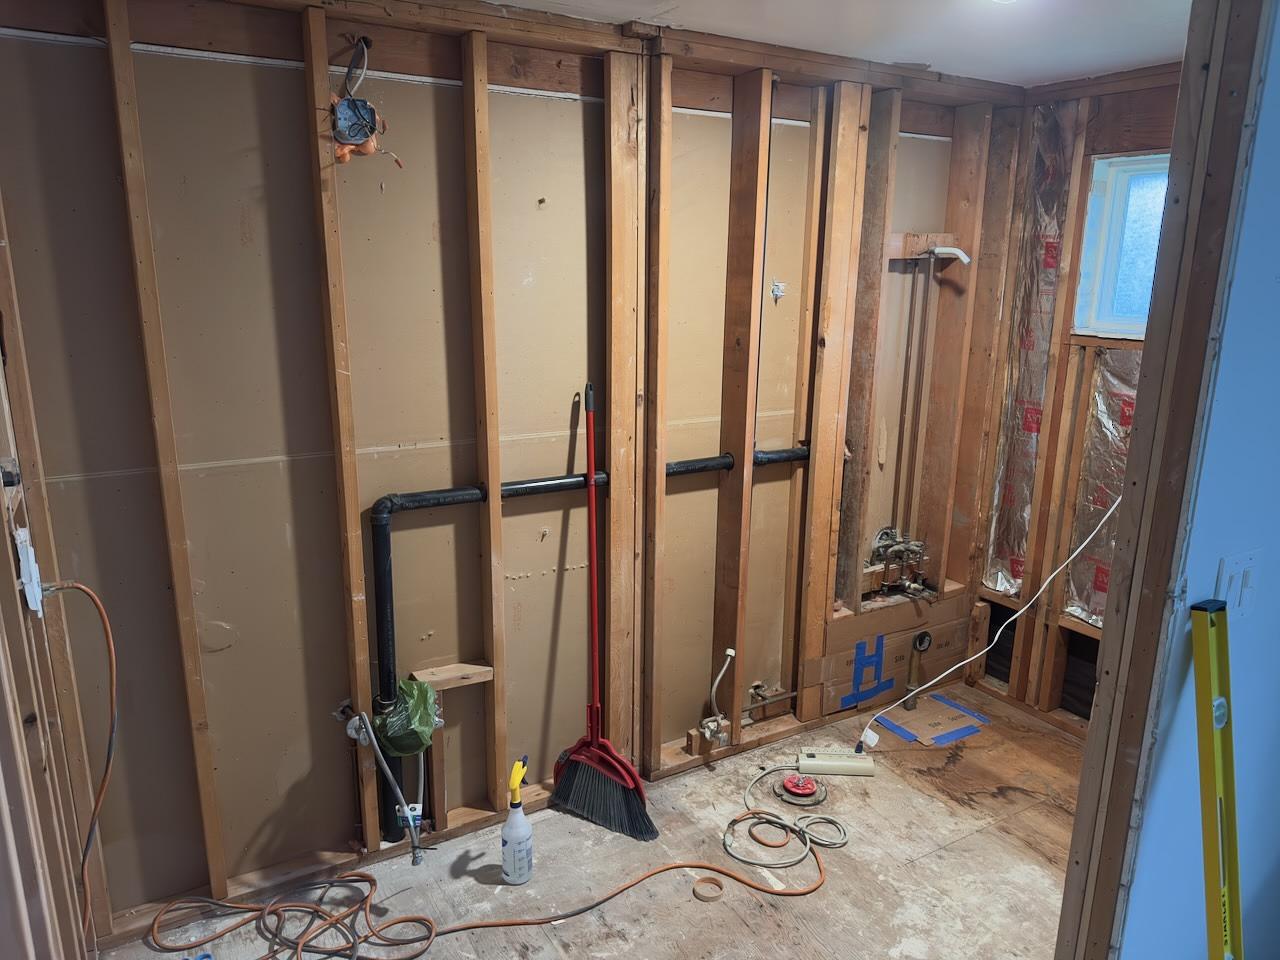
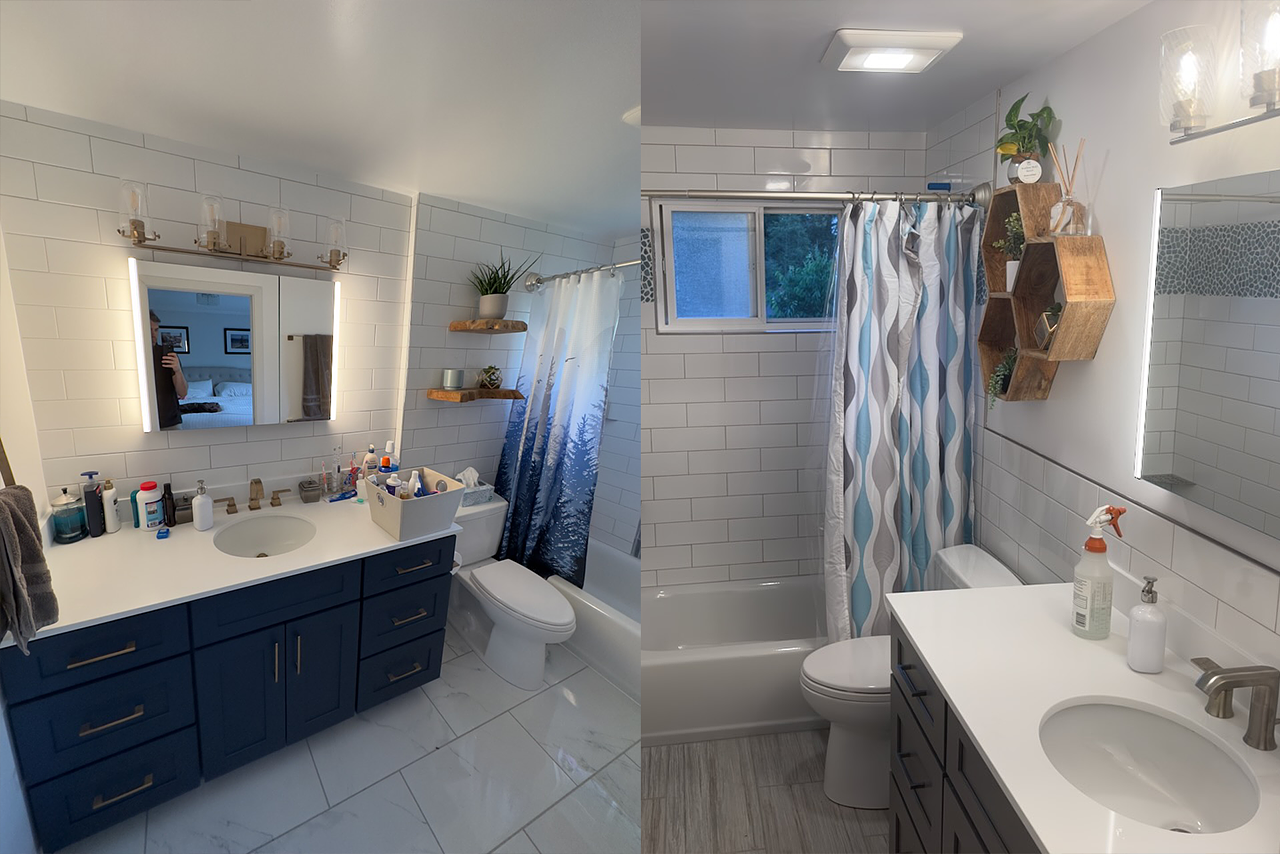
I won’t beleaguer you with everything that went into these two bathrooms. It would take a novel, which this blog post is quickly becoming. Sorry…
Fast forward three months.
Now where was I?
I honestly couldn’t remember for a while. It’d been so long since I was working on this that I forgot everything I had planned. Media, uploading, right? That was it. I needed to tackle the length of my Markdown image tags. A typical image represented in Markdown looks like . This tag is normally fine, but the URL provided by Rails for the media blob is massive. It spans like three lines in my editor and makes everything look awful. Having multiple images in a post can be a total disaster. I wanted something more like , where 124 is the ID of the media.
So, I wrote a custom method to parse a slightly different Markdown tag: !. This tag has the benefits of a) always being small and b) allowing me to see the ID and reference it where the media is displayed in the admin.
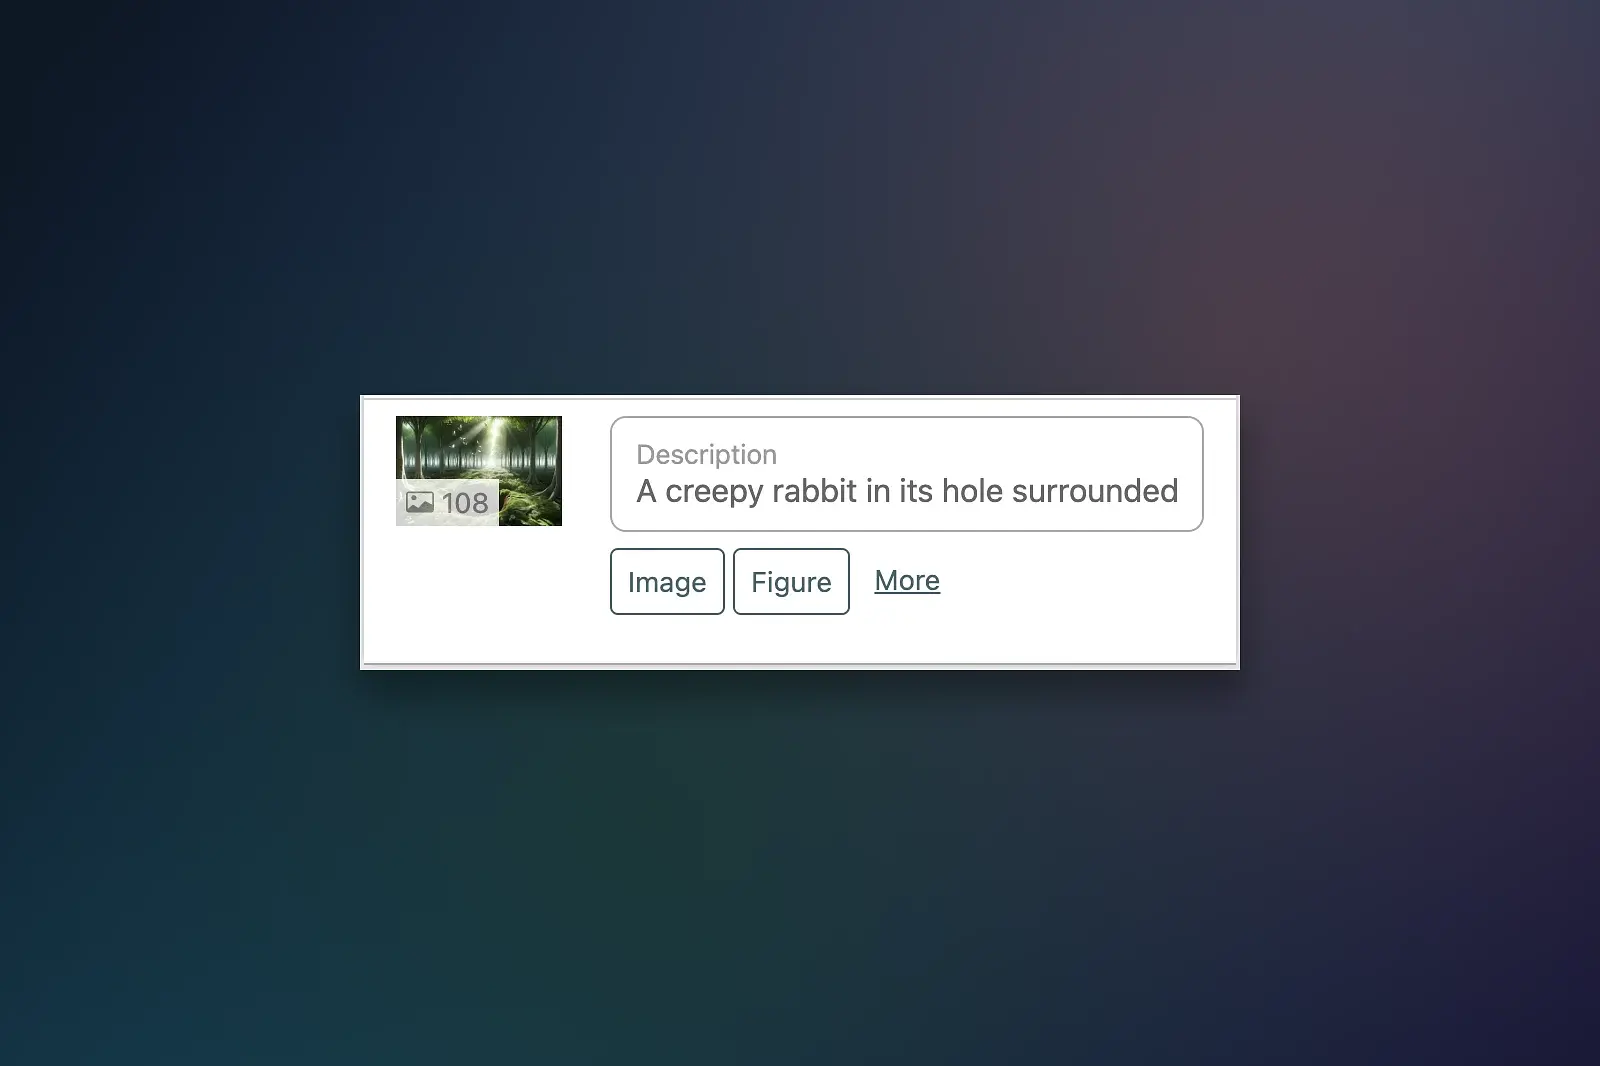
Now, I can click the Image or Figure buttons and get internally referenced Markdown image tags—big quality-of-life improvement.
So, I was done, right? I’d finally reached the bottom of the rabbit hole. Are you sensing a theme here? Of course, I wasn’t done! You can’t make a blog post about processing gifs without updating your site to have light and dark modes. Who does that?! Down, down, down we go.

Color modes
Light and dark modes have been on my to-do list for a while. I discussed the launch of my website's new theme in a previous blog post, so I won't repeat it here. In summary, light, dark, and auto color modes are now for your viewing pleasure. Implementing color modes can be challenging, even for a small website like mine. I can only imagine the complexity it adds to a site with thousands of pages.
Put up or shut up
I could keep going for a while because I pushed out many more updates, but you should not have to read through all that. You get the point by now. What you want to know is: Can you actually upload and display GIFs? Well, my friends...

The essence of this blog post mirrors the tumultuous process of a coding project. It's detailed, expansive, and at times, seemingly chaotic. What starts as minor adjustments can often evolve into extensive modifications. Scope creep is real, and your objectives are oh so very fickle.
It’s a good thing I can’t get canned from my own blog because taking ten months to add the ability to upload and process GIFs would be considered a fireable offense.
